
To download the VPN Cisco Client start by going to: it.nmu.edu

Next, click the downloads menu icon. It is located underneath "IT Services" and next to "Home"

You will be redirected to the downloads page, scroll down until you find the "Cisco AnyConnect VPN Client"

If you are on Windows click "Download Now" for the Windows version, if you are on a Mac click "Download Now" for the Mac version.
You will be taken to a Cisco site. You may be asked to login from a screen like this:

Windows Version
Enter your NMU Credentials and Login then click "Download for Windows"

It will download a file, it should appear on the bottom left of your screen. If not go to your File Explorer and search for the file in your downloads section.

Double Click it to launch it and the installer should pop up.

This is what the launcher looks like, click "Next" to continue.
The terms and conditions should appear next, click "Accept"

Then click "Next" to continue. The Installer will then begin to Install the client.

Click "Finish" when you see this pop-up.
Search for "Cisco AnyConnect Secure Mobility Client" from your applications and then open it.
When launched it looks like that. Enter the NMU VPN: "nmuvpn.nmu.edu"
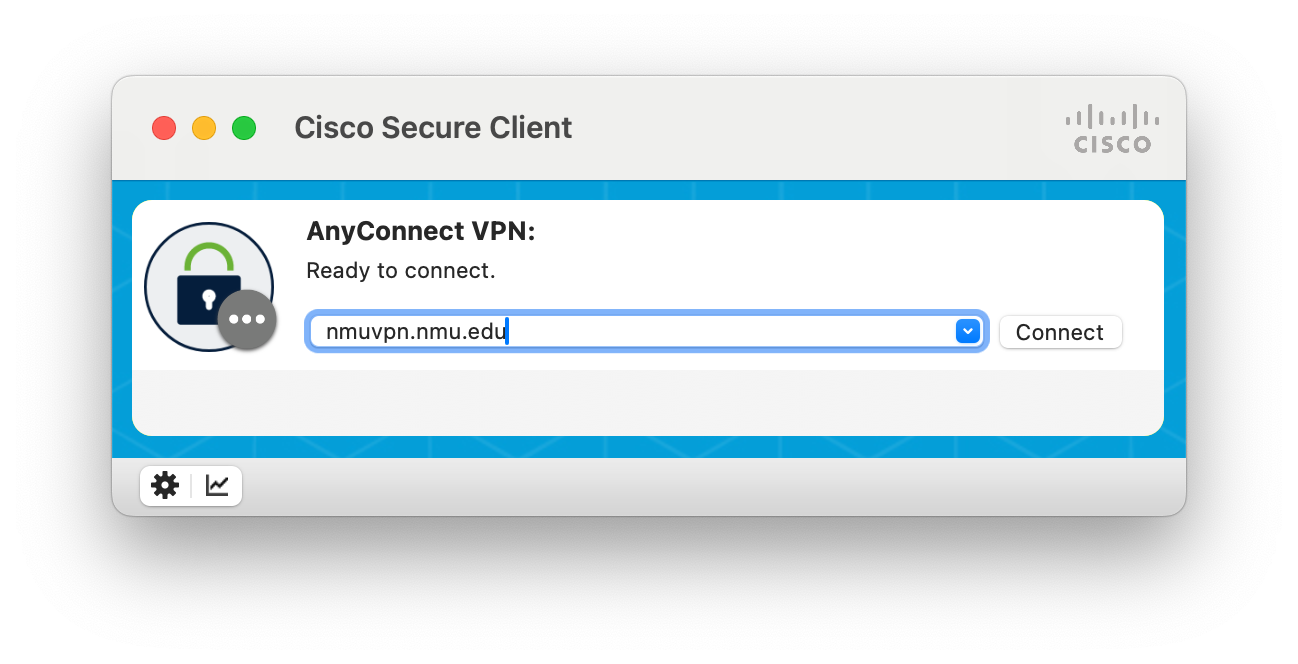
Then click Connect, and it will redirect you to a SSO log in screen.
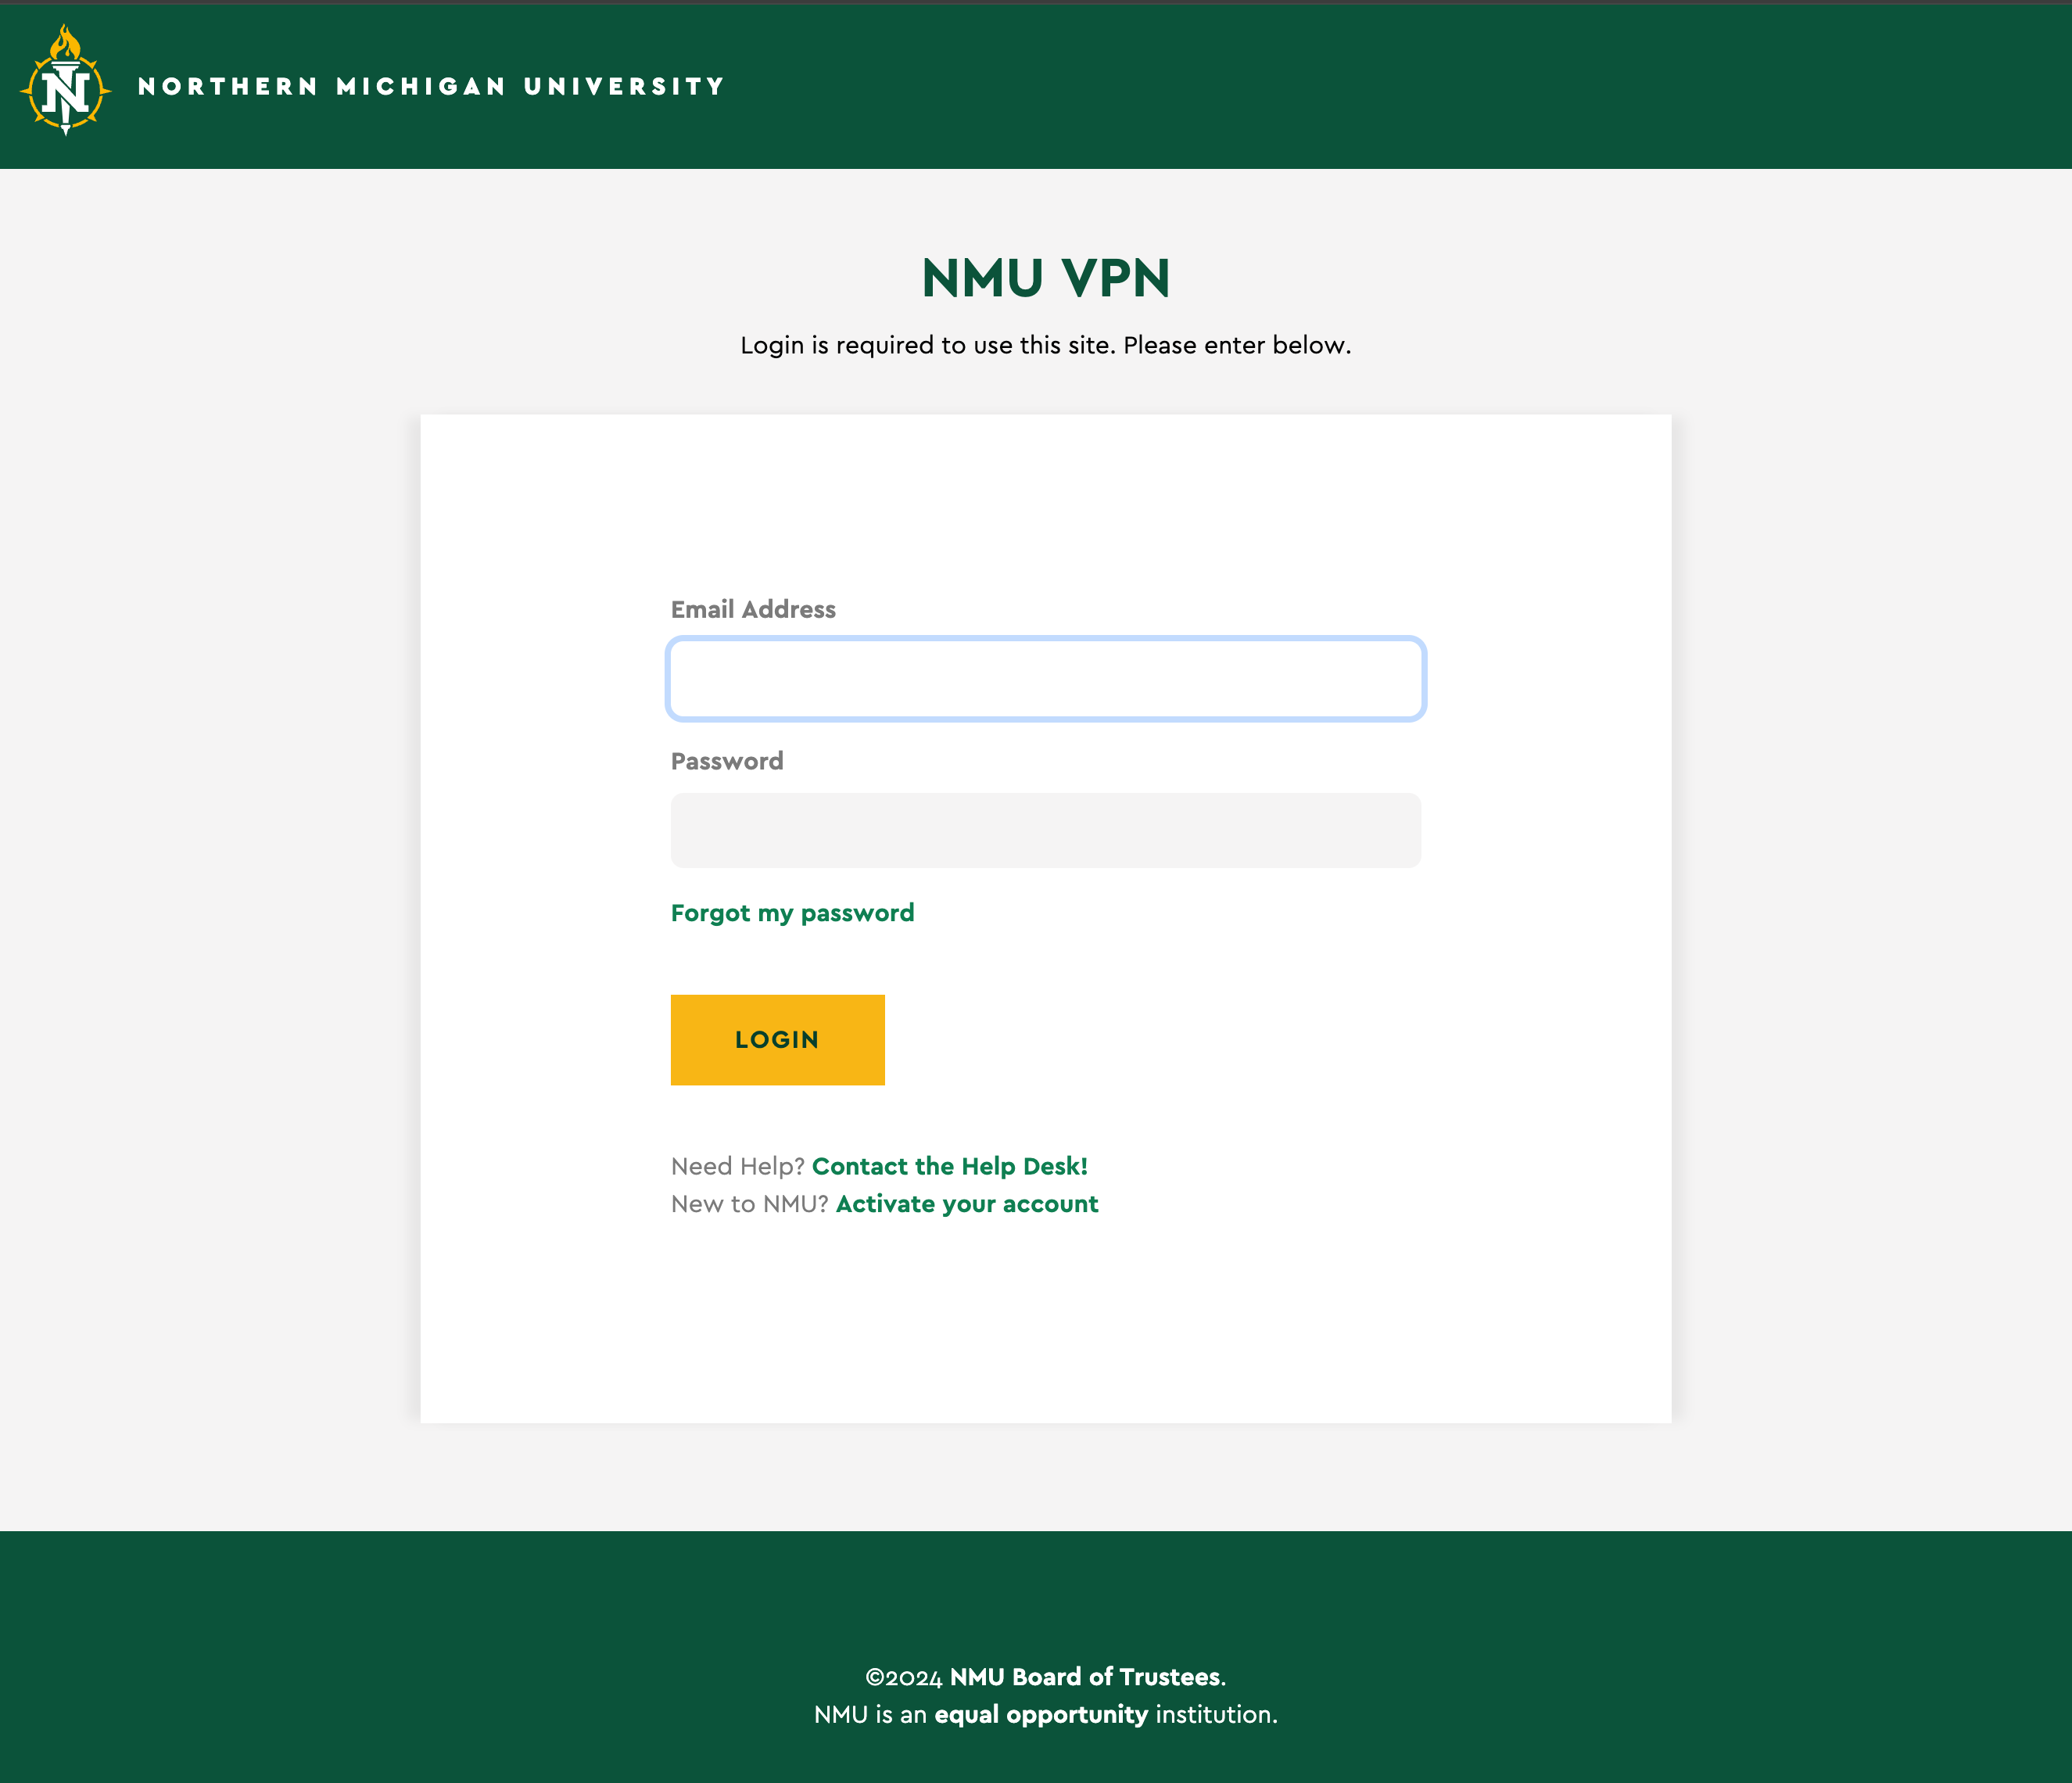
Enter your NMU Credentials again and click "LOGIN"
The screen should disappear afterward. Reopen the same application again and you should see this.
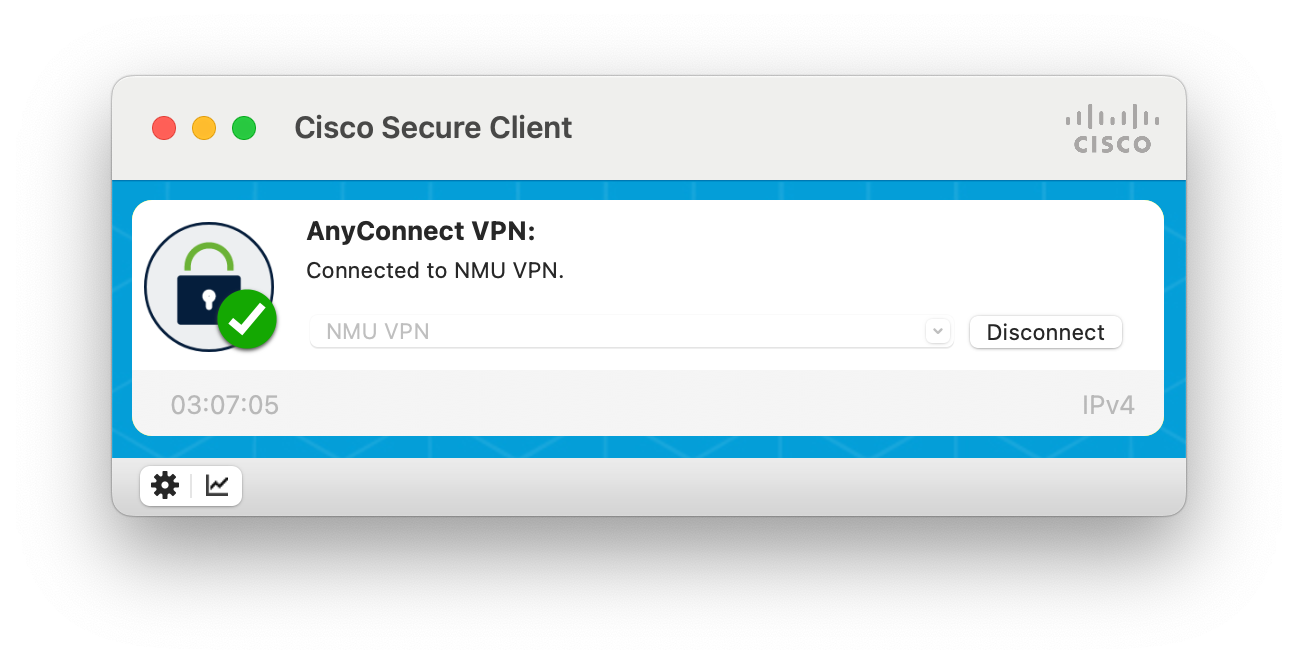
If you wish to disconnect just hit the Disconnect button.
macOS Version
Enter your NMU Credentials and log in then click "Download for macOS"

It will download a package, double click that package to open the installer.

This will open up the installer. Click "Continue".

It will ask you to click "Install". Click "Install" to continue.

Next, it will ask you to enter your system credentials. This will be what you use to log in to your computer, not your NMU credentials.
i.e: Eric Johnson is the username for the computer and his password is the password used to log in to that account on the computer.

The System will then pop up saying there is an Extension Blocked. You will have to enable it.

Once you enable and click "allow" it will ask you for your credentials. Again this is your computer credentials and not you NMU credentials.

Once the System Extension is enabled you will get a pop up saying "System Extension Enabled" Dismiss that and continue with the installer.

The installer should continue and then finish successfully. Click "Close" to continue.

Next search for "Cisco" from your applications. Then open "Cisco AnyConnect Secure Mobility Client"

You will get the VPN to open. Enter the NMU Address as shown below.

After you click "Connect" you will be redirected to an SSO login screen. Enter your NMU user ID and password to log in.

You are now connected to the NMU VPN. If you wish to disconnect, click "disconnect".
